Recently, the turntable controller for the Durango turntable failed. I purchased the
New York Railway Supply PTC III about 25 years ago. Unfortunately, after 25 years of flawless service, the controller failed. Because parts are not available, I needed a new way to control the turntable.
I decided to try controlling the turntable using a
Switchmaster slow motion turnout machine and a spare Lenz DCC motor-only controller. The photos below show how I adapted the existing motor mount for use with the Switchmaster motor. I did turn an adapter using my Unimat lathe to connect the 1/8" motor shaft to the 1/4" turntable shaft.
I am pleased with the results of my adaptation. I do miss the automatic indexing, but have found that aligning the turntable to the lead tracks is not as difficult as I anticipated. One advantage is that I can reverse the table at any time, and I can adjust the speed of the table.
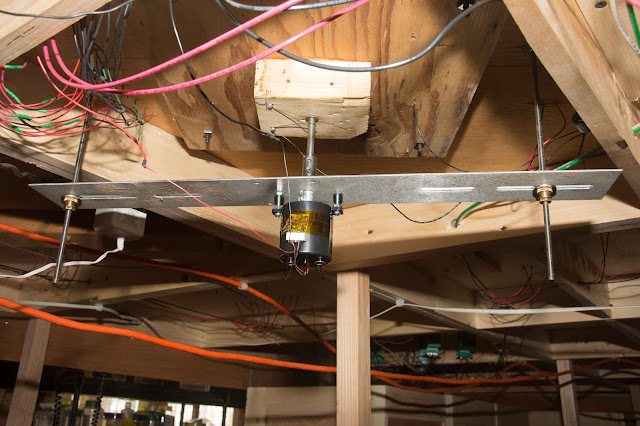 |
| Overall view of the Switchmaster slow motion motor. The slotted aluminum angle is part of the original PTC III mounting kit. I drilled two holes to mount the Switchmaster motor. The motor is mounted to the aluminum angle with #6-32 x 1" machine screws and nuts. The entire assembly is mounted to the layout with lengths of all-thread and knurled thumb nuts. The height of the bridge can be fine-tuned by adjusting the knurled nuts on the all-thread which secure the mount to the layout. |
 |
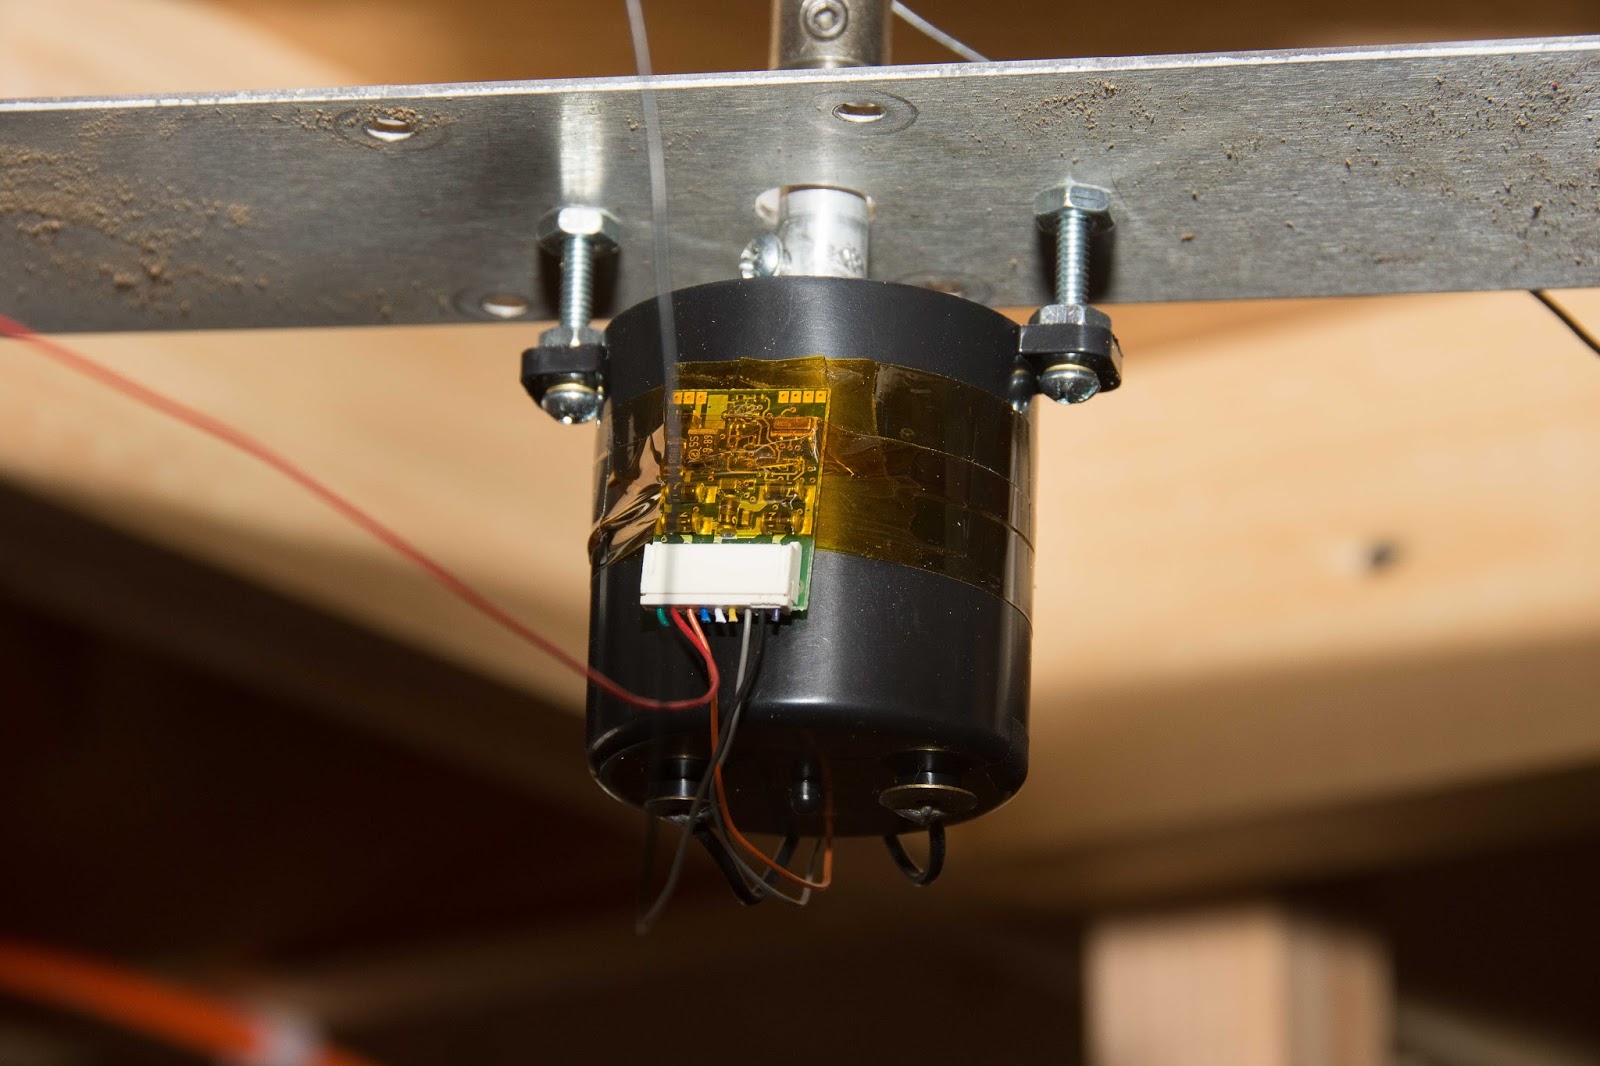
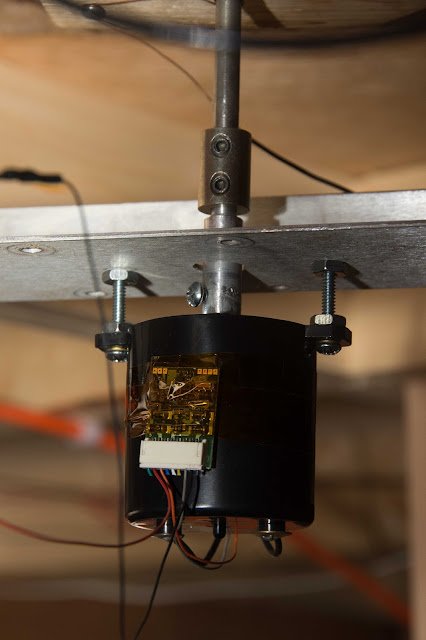
| A closer view showing the Lenz decoder installation. The gray and orange decoder wires are soldered to the motor leads, and the black and red decoder wires are connected to the track bus wires. The decoder is secured to the motor using Kapton tape. Mounting the motor to the aluminum angle required two screws and six nuts. |
 |
| A closer view of the adapter used to connect the 1/8" motor shaft to the 1/4" turntable shaft. The adapter was turned from aluminum rod. It has a 1/8' hole in the bottom, and a 1/4" shaft at the top, which enters the existing coupling. |